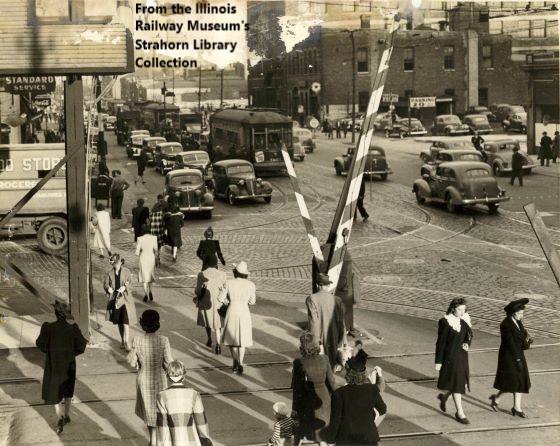
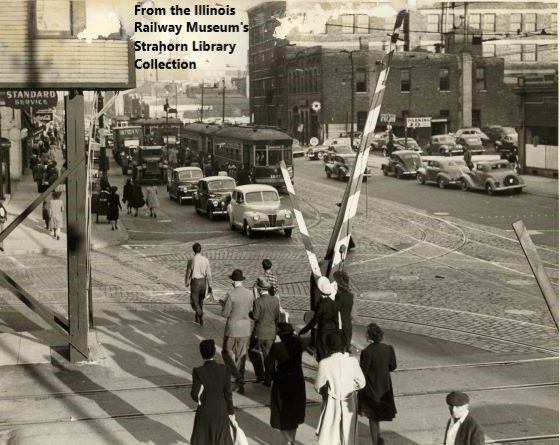
These photos are available thanks to the Strahorn Library and Museum Volunteer Joe Stupar's time spent scanning them.
The photo captions are taken from information written on the slides/photos and/or from research. The numbers preceding the captions are simply inventory numbers and can be ignored.
Due to concerns expressed by some about rampant piracy of photos on the internet, restrictions have been placed on posting photos from the Museum's collection here. The requirements set forth state that they must be low res and watermarked. We apologize to the vast majority of our patrons who only use this site as intended, for personal enjoyment and information gathering.
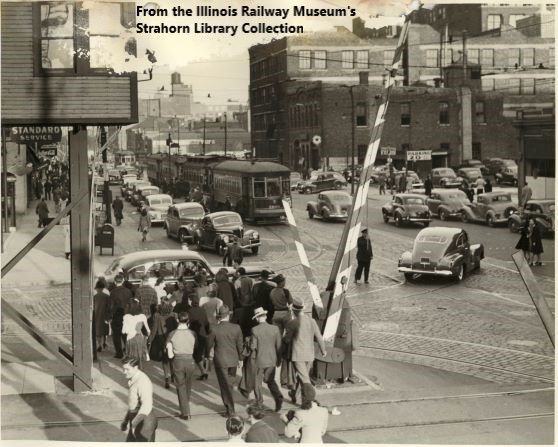
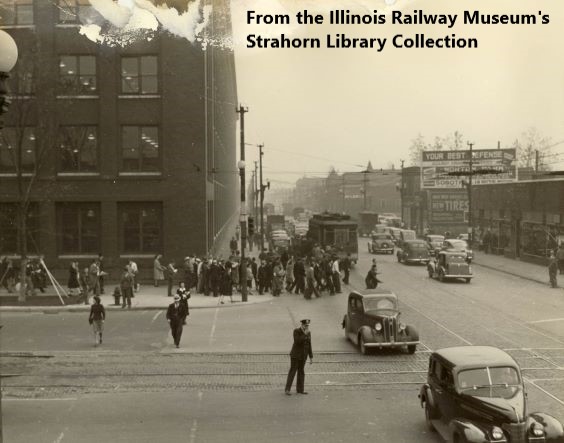
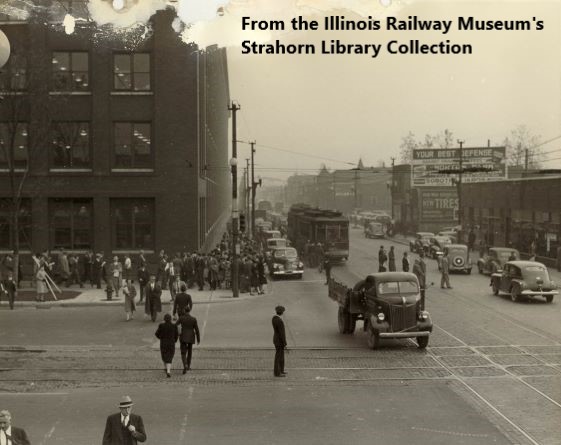
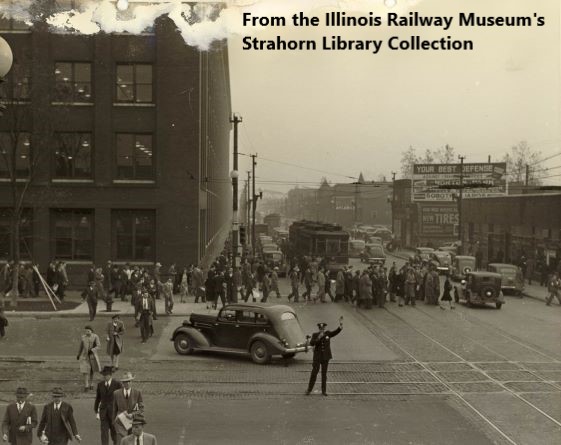
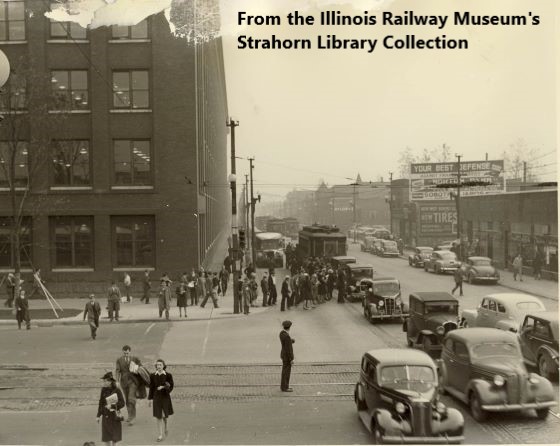
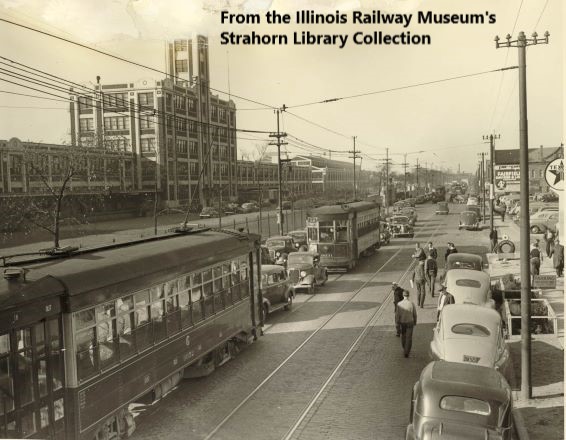
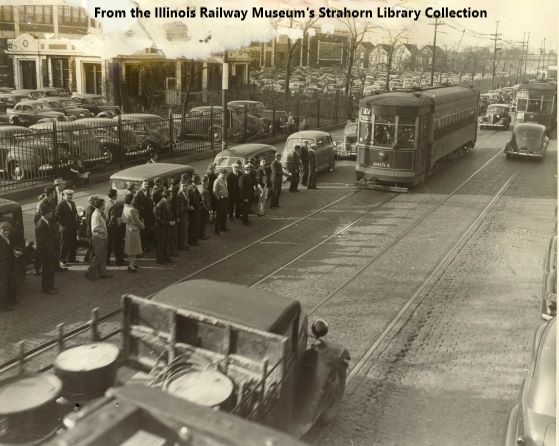
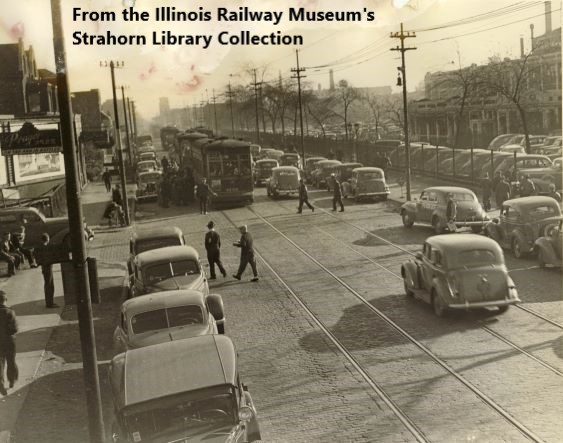
63-Montgomery Ward - Chicago & Larrabee (CSL Photo)
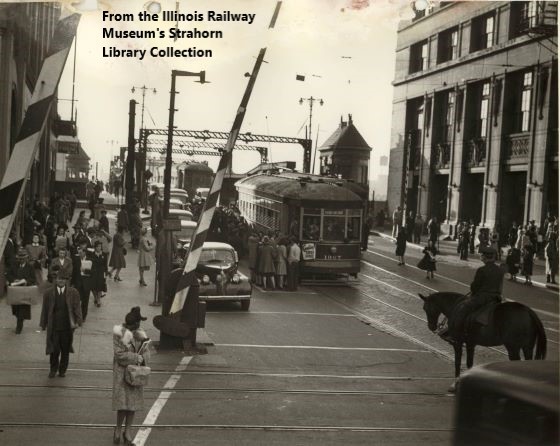
64-Montgomery Ward - Chicago & Larrabee (CSL Photo)
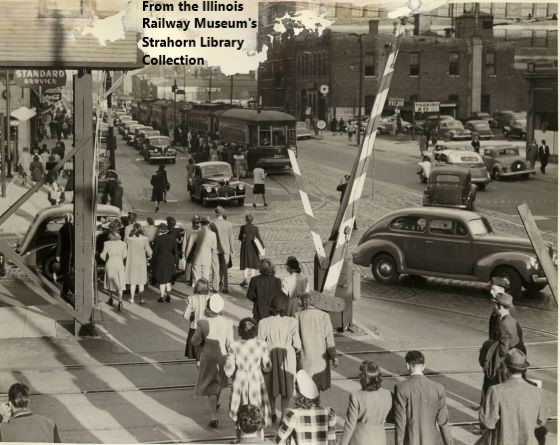
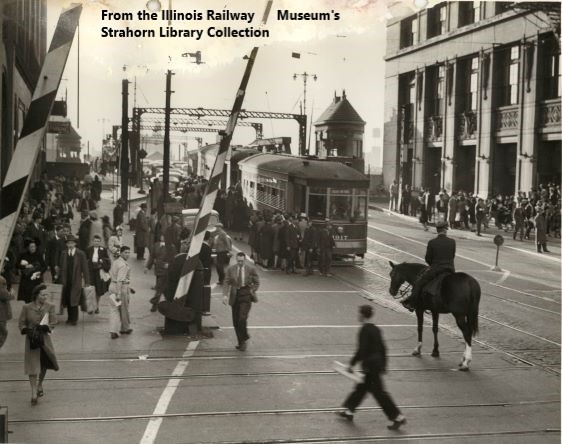
65-Montgomery Ward - Chicago & Larrabee (CSL Photo)
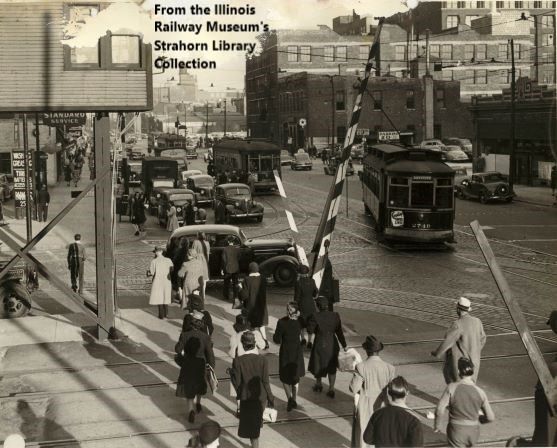
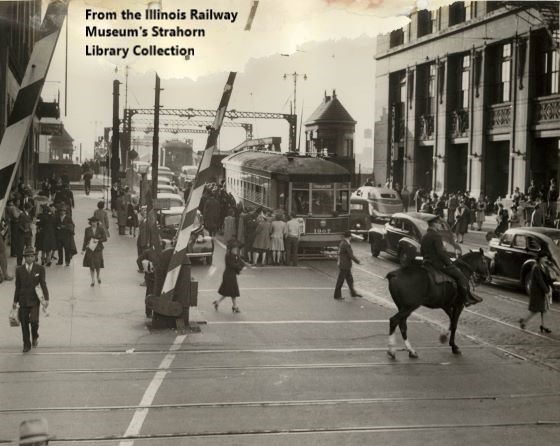
66-Montgomery Ward - Chicago & Larrabee (CSL Photo)
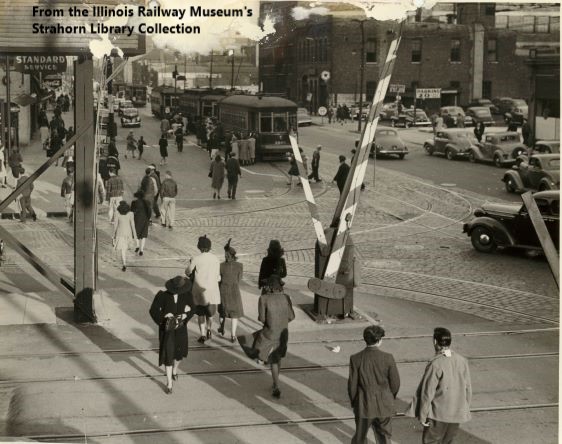
67-Montgomery Ward - Chicago & Larrabee (CSL Photo)

68-Montgomery Ward - Chicago & Larrabee (CSL Photo)
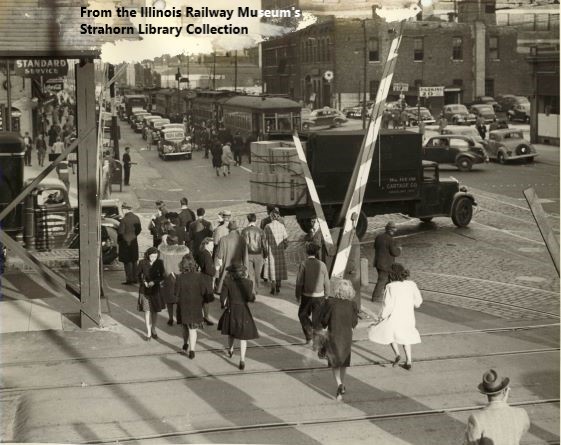
69-Montgomery Ward - Chicago & Larrabee (CSL Photo)
70-Montgomery Ward - Chicago & Larrabee (CSL Photo)
71-Montgomery Ward - Chicago & Larrabee (CSL Photo)
72-Montgomery Ward - Chicago & Larrabee (CSL Photo)
73-Montgomery Ward - Chicago & Larrabee (CSL Photo)
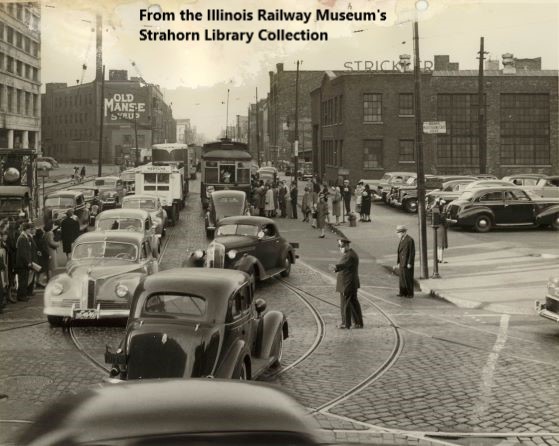
74-Montgomery Ward - Chicago & Larrabee (CSL Photo)
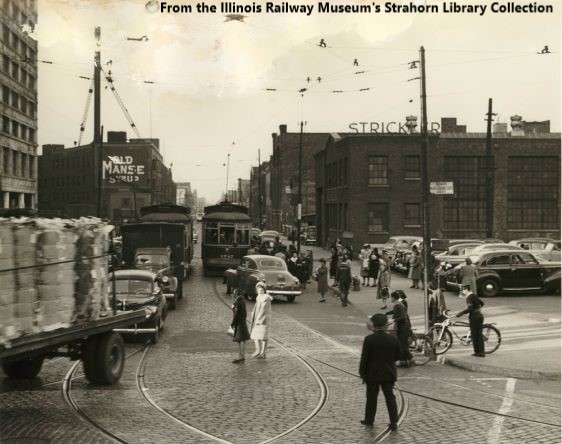
75-Montgomery Ward - Chicago & Larrabee (CSL Photo)
76-Montgomery Ward - Chicago & Larrabee (CSL Photo)
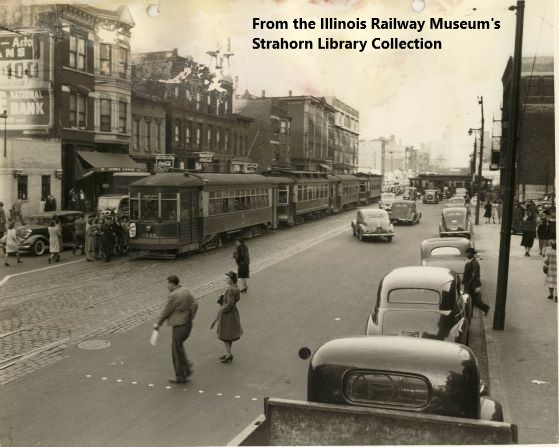
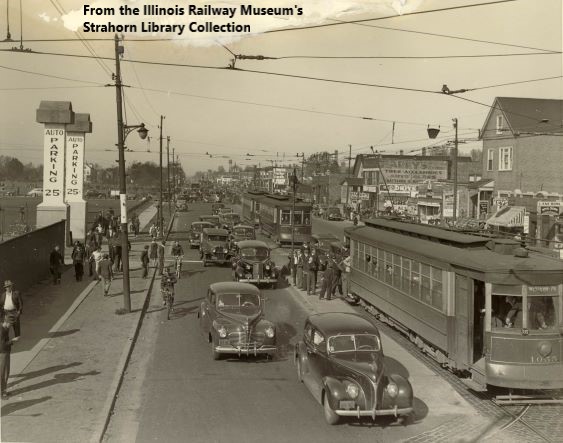
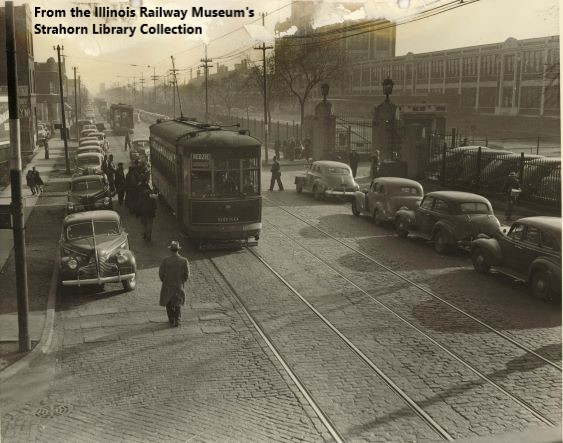
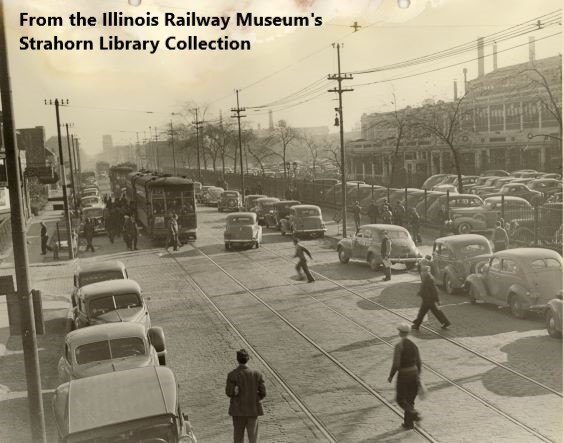
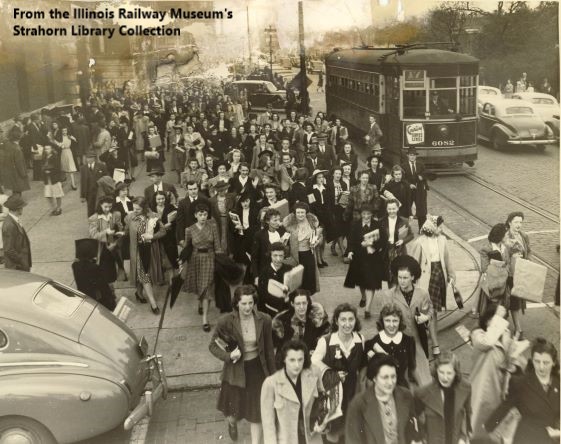
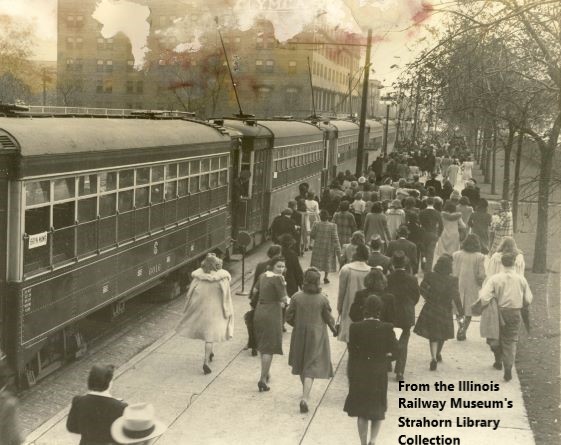
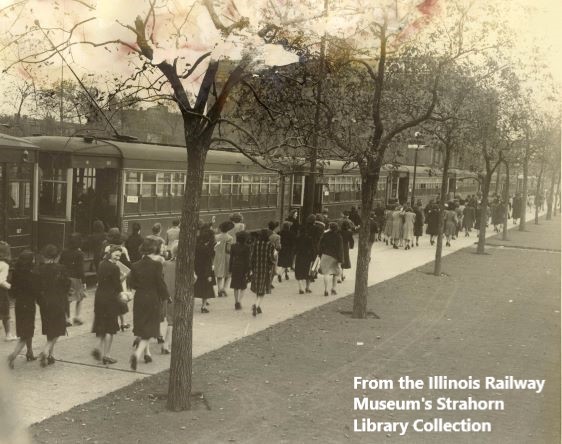
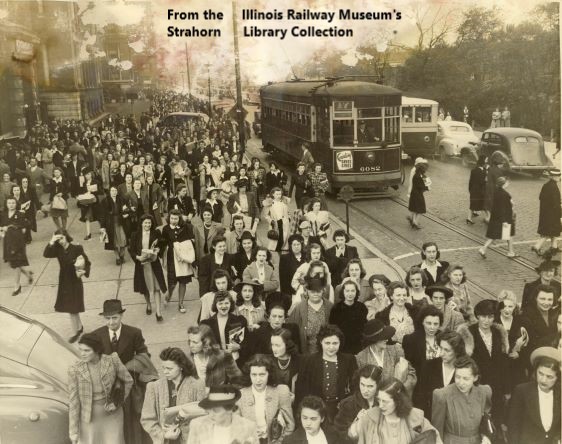
77-Lane Tech High School - Western & Addison (CSL Photo)

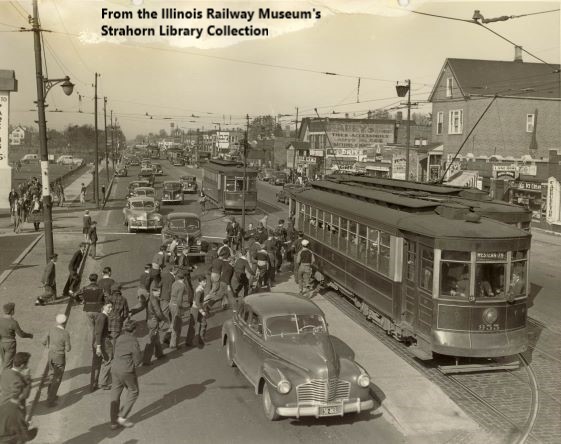
78-Lane Tech High School - Western & Addison (CSL Photo)
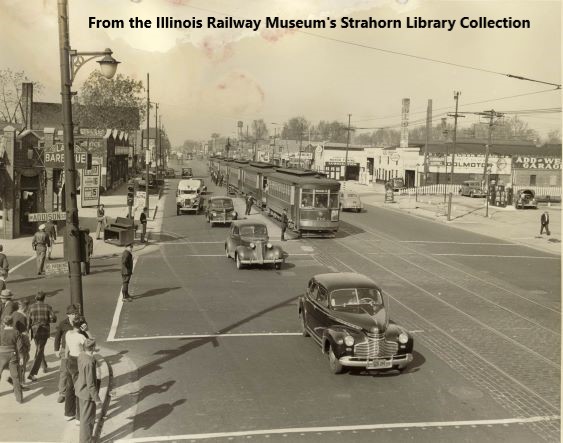
79-Lane Tech High School - Western & Addison (CSL Photo)
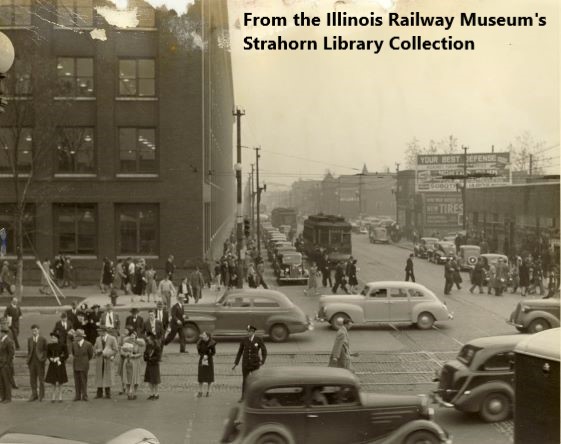
80-Lane Tech High School - Western & Addison (CSL Photo)

81-Lane Tech High School - Western & Addison (CSL Photo)
82-Lane Tech High School - Western & Addison (CSL Photo)
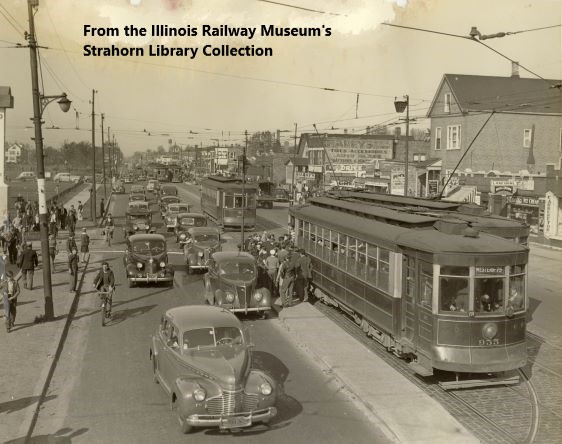
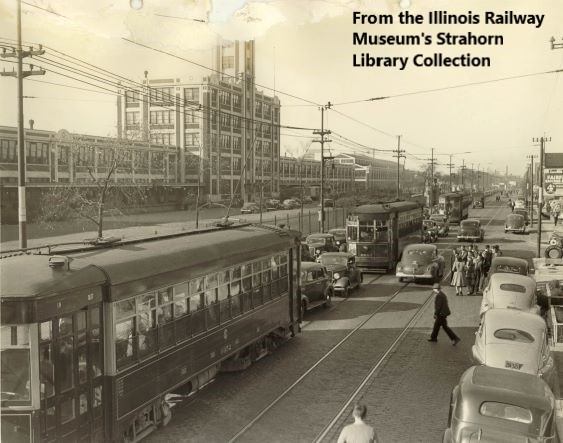
83-Western Electric - Cermak & Cicero (CSL Photo)
84-Western Electric - Cermak & Cicero (CSL Photo)
85-Western Electric - Cermak & Cicero (CSL Photo)
86-Western Electric - Cermak & Cicero (CSL Photo)
87-Western Electric - Cermak & Cicero (CSL Photo)
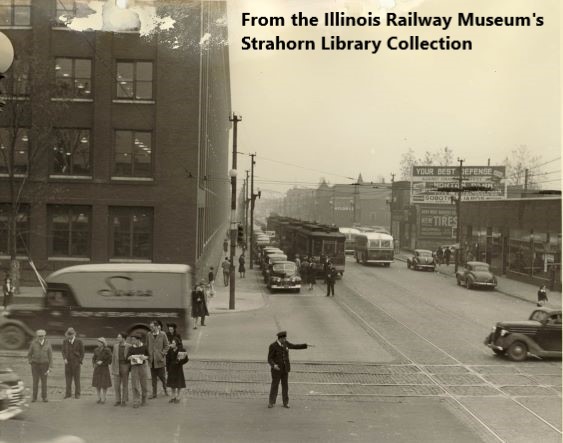
88-Western Electric - Cermak & Cicero (CSL Photo)
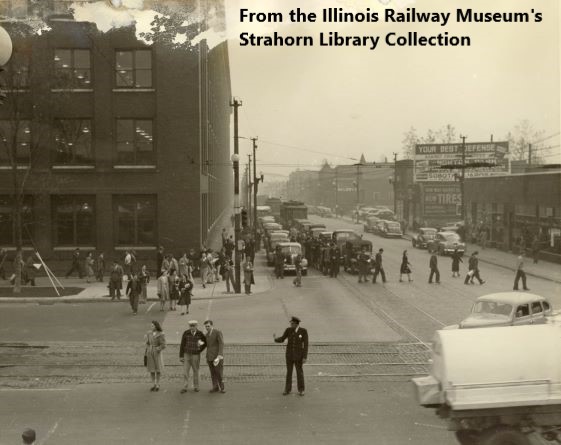
89-Western Electric - Cermak & Cicero (CSL Photo)
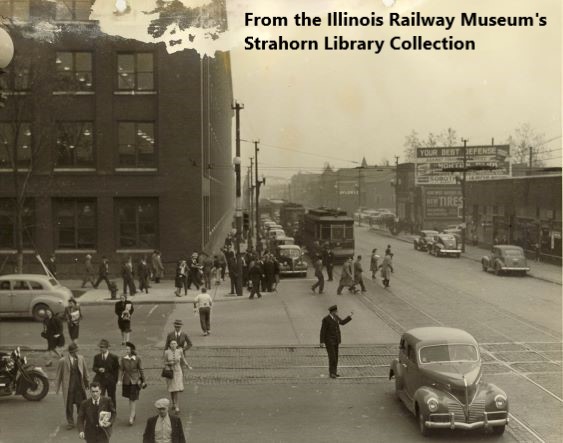
90-Western Electric - Cermak & Cicero (CSL Photo)

91-Crane Company - Kedzie, Pershing & 43rd (CSL Photo)
92-Crane Company - Kedzie, Pershing & 43rd (CSL Photo)
93-Crane Company - Kedzie, Pershing & 43rd (CSL Photo)
94-Crane Company - Kedzie, Pershing & 43rd (CSL Photo)
95-Crane Company - Kedzie, Pershing & 43rd (CSL Photo)
96-Crane Company - Kedzie, Pershing & 43rd (CSL Photo)
97-Crane Company - Kedzie, Pershing & 43rd (CSL Photo)
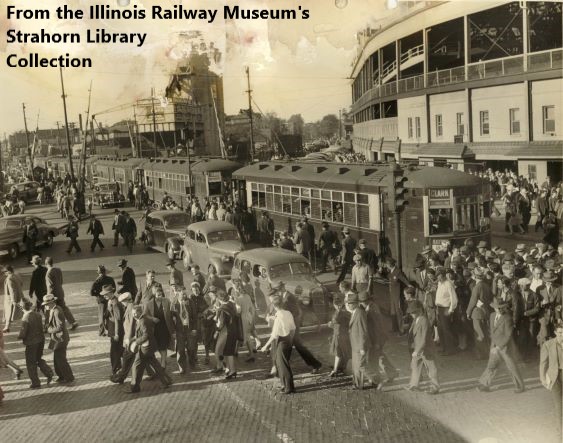
98-Wrigley Field - Clark & Addison (CSL Photo)
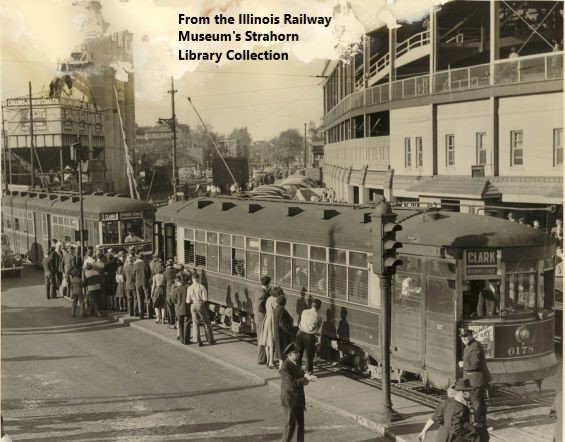
99-Wrigley Field - Clark & Addison (CSL Photo)
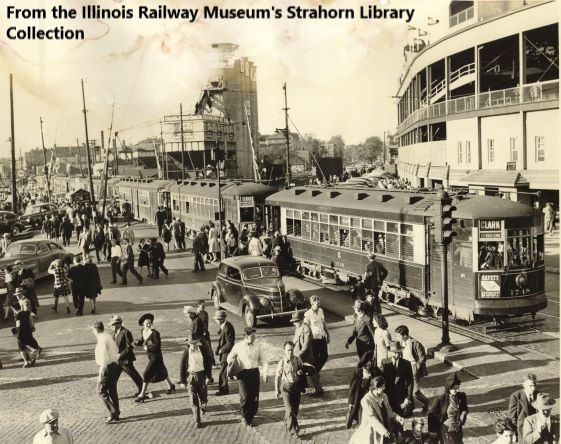
100-Wrigley Field - Clark & Addison (CSL Photo)
101-Sears, Roebuck - Kedzie & Arthington (CSL Photo)

102-Sears, Roebuck - Kedzie & Arthington (CSL Photo)
103-Sears, Roebuck - Kedzie & Arthington (CSL Photo)
104-Sears, Roebuck - Kedzie & Arthington (CSL Photo)
105-Sears, Roebuck - Kedzie & Arthington (CSL Photo)
106-Soldier Field - Roosevelt Road (CSL Photo)
107-Soldier Field - Roosevelt Road (CSL Photo)
108-Soldier Field - Roosevelt Road (CSL Photo)
109-Soldier Field - Roosevelt Road (CSL Photo)
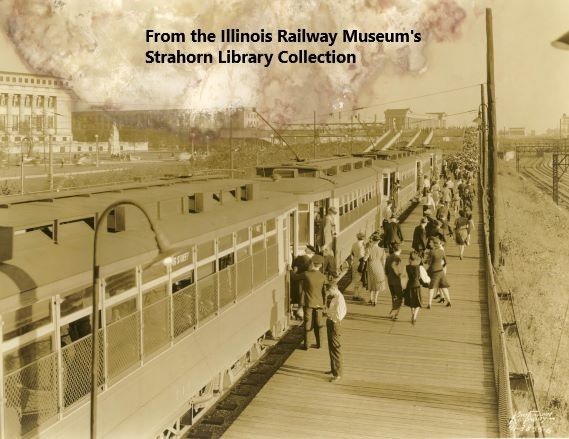
110-Soldier Field - Roosevelt Road (CSL Photo)